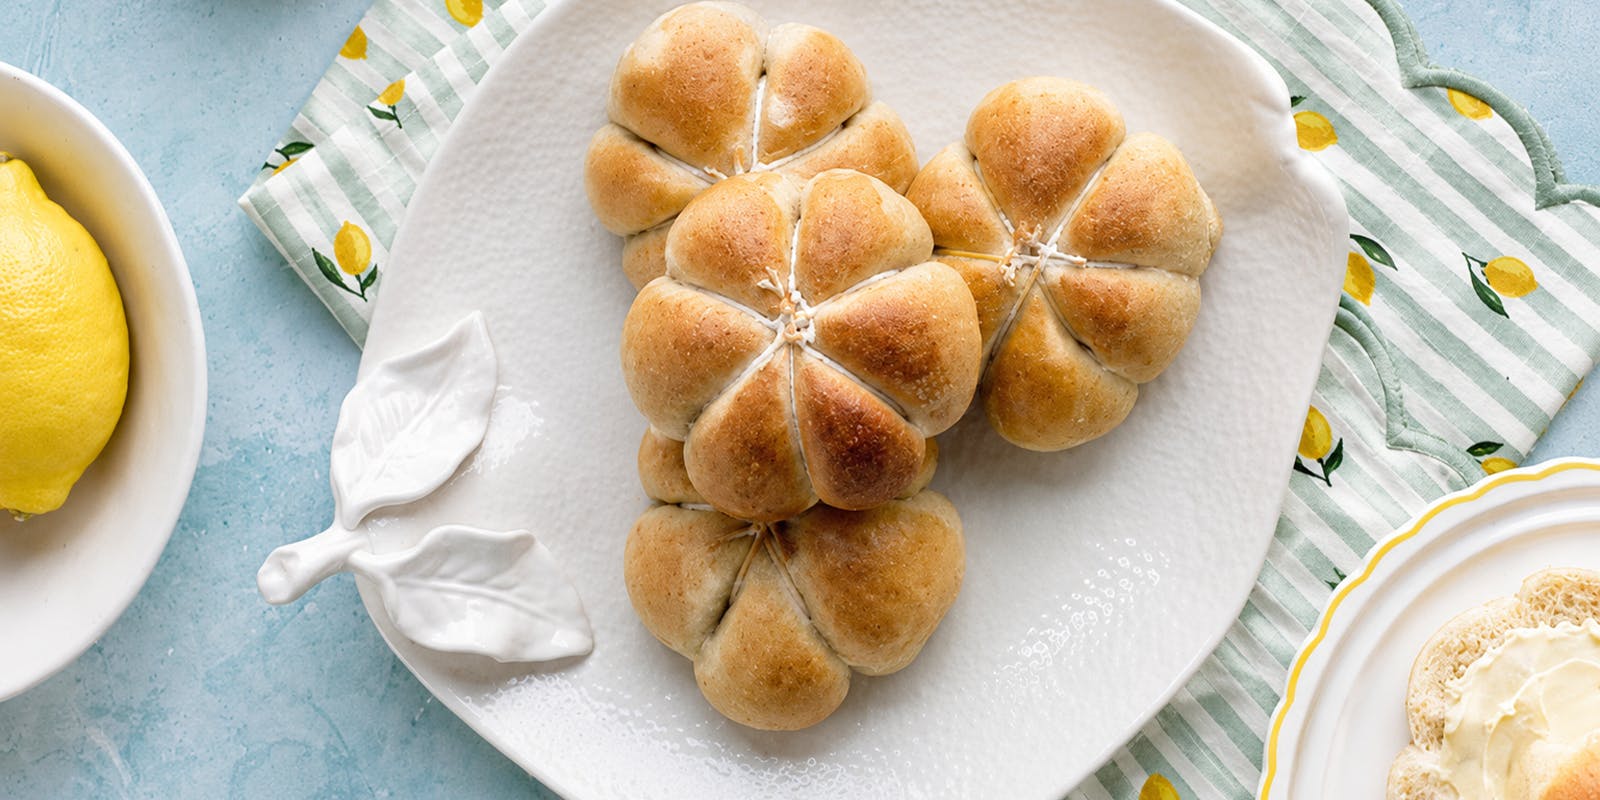
Soft, fragrant, and perfectly sweet, these buns combine the bright citrus flavor of lemon zest with the warm spice of cardamom.
Enjoy these with a pat of butter for breakfast or with some drizzled honey or a spoonful of lemon curd for a sweet finish. A sweet sourdough starter adds depth and complexity, making them a delightful treat for any occasion.
Makes 16 buns
Total time: 42 hours
Prep time: 1 hour 15 minutes
Baking time: 16-20 minutes
Ingredients:
Sweet, stiff starter
- 50g unfed 100%-hydration sourdough starter
- 66g tap water
- 20g granulated sugar
- 120g all-purpose flour
Dough
- 160g tap water
- 160g any type of milk (I use 2%)
- All of the sweet stiff starter
- 115g granulated sugar
- 3 medium eggs, divided
- 8g sea salt
- 600g bread flour
- Zest from 3 lemons
- 4g ground cardamom
- 100g unsalted butter, softened
Topping
- Poppy seeds (optional)
Special equipment: Stand mixer fitted with a dough hook (optional)
Method:
Prepare the sweet stiff starter (5 minutes, 12 hours rise)
- Prepare the sweet stiff starter the night before making the dough by mixing all starter ingredients together in a 1-liter (34fl oz) container. Cover the starter with plastic wrap and let it rise until at peak or has just started to fall, at least 12 hours.
Make and proof the dough (30 minutes active, 4-8 hours bulk proof at room temperature, overnight cold proof)
- The next morning, in a medium bowl or the bowl of a stand mixer, combine the water, milk, starter, sugar, 2 eggs, salt, flour, lemon zest, and ground cardamom Mix on low for 10 minutes. Alternatively, knead by hand for 15 minutes until the ingredients are fully incorporated.
- Gradually add the butter to the dough, 1 to 2 tablespoons at a time, and knead until the butter is fully incorporated after each addition. Knead by hand or in the stand mixer for 10 minutes until the dough is smooth and elastic. Cover the dough with a bowl cover or plastic wrap and let it rest for 1 hour.
- (Optional step for gluten development for a more shreddable crumb. If you wish to skip this step, proceed to step 4.) Once 1 hour has elapsed, perform a coil fold (p. 35). Perform two more coil folds in 30-minute intervals.
- Cover the dough with a bowl cover or plastic wrap and allow the dough to proof at room temperature until it has doubled in volume. (This may take 4 to 8 hours depending on the ambient room temperature.) Place the covered dough in the refrigerator for an overnight cold proof.
Shape and final proof (40 minutes active, 4-6 hours final proof)
- The next morning, line two baking sheets with parchment paper.
- Use a bench scraper to divide the cold dough into sixteen equal-size portions. Gently shape each portion into a round bun, dusting with additional flour if needed to avoid sticking. Optionally, you can tie these loosely with 3 strands of butcher's twine to create a pumpkin shape.
- Arrange the shaped buns on the baking sheets, leaving space for expansion. Cover with a tea towel and proof at room temperature until doubled in size, puffy, and a finger-poke test reveals a slow return of the dough. (This may take 4 to 6 hours depending on the ambient room temperature.)
Bake and store the buns (16-20 minutes)
- Preheat the oven to 375°F (190℃).
- Whisk the remaining egg in a small bowl. Use a pastry brush to brush the buns with the egg wash, then sprinkle the poppy seeds (if using) over the tops of the buns.
- Bake for 16 to 20 minutes or until the buns are golden brown and their internal temperature reaches 195°F (91C). Cool the buns on a wire rack
- Store at room temperature in a resealable bag for up to 3 days or in an airtight container or freezer bag for up to 2 months.
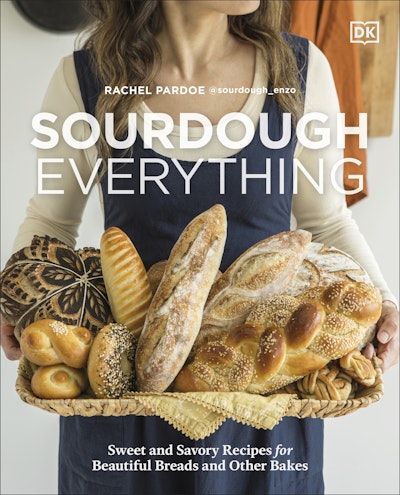
A step-by-step guide to baking and designing beautiful sourdough breads, treats, and sweets with sourdough superstar Rachel Pardoe.

These sourdough discard turnovers feature flaky, buttery pastry wrapped around a sweet strawberry filling and finished with a gorgeous pink glaze.


Comfort food with a Desi twist, this rich, spiced butter chicken is folded through creamy, cheesy macaroni for a fusion that’s both indulgent and seriously satisfying.

This light meal option is packed with lean proteins, herbs and citrus for freshness.

The first time I put amatriciana on the menu at Tiella I was incredibly nervous.

You might think this is absurd, but I miss my rhubarb plants in Copenhagen.

Self-saucing pudding is exactly what I want when I'm suggesting 'a little something sweet.

I absolutely love a fresh cinnamon roll, so it only felt right to turn it into a cookie.

Years ago, there was a bit of a craze for self-saucing puddings, and every time I make this, I really think I ought to call it a self-saucing salad!

One of the first cocktails to be produced industrially was Pimm's, where, in addition to the Pimm's No. 1 liqueur, all you need is ice and a mixer and you're done!

If you're craving pancakes but want a lower-carb option, these are fantastic.

As you're no doubt aware by now, I love crispy cubed potatoes or fries loaded with pretty much everything.
